
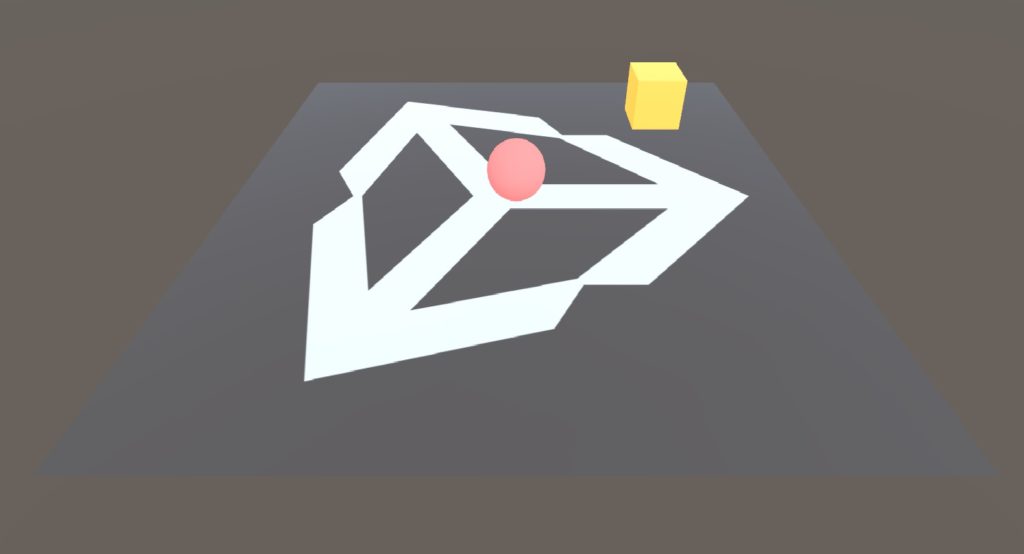
今回は、unityの機械学習ライブラリ、mlagentsを使って機械学習サンプルシーンを実装してみました。
約70行で実装できるので、mlagentsを学び始めた初心者にとっては、学びやすい内容になっていると思います。
mlagents-Tool-Kitのサンプルシーンを動かしてみた後に、実際に機械学習をしてみたい方は、こちらのサンプルを実装してみることをおすすめします。
以下のようなものが完成品です。

1.mlagentsを導入する
まず初めに新規プロジェクトをつくります。
[File]>[New Project]で新規プロジェクトを作成し、mlagentsを導入します。
mlagentsの導入は、以下の記事で詳しく紹介しているので、そちらを参考にしてみてください。
プロジェクトを作成したら、GameObjectを生成していきます。
2.GameObjectを生成
[Hierarchy]へ以下のGameObjectを生成します。
・[Create]>[3D Object]>[Plane] 名前をFloorとする。
Position[0,0,0]
Rotation[0,0,0]
Scale[1,1,1]
・[Create]>[3D Object]>[Cube] 名前をTargetとする。
Position[3,0.5,3]
Rotation[0,0,0]
Scale[1,1,1]
・[Create]>[3D Object]>[Sphere] 名前をRollerAgentとする。
Position[0,0.5,0]
Rotation[0,0,0]
Scale[1,1,1]
[Inspectorビュー]>[Add Component]>[Physics]>[Rigidbody]
[Inspectorビュー]>[Add Component]>[New Scripts] 名前をRoller Agentへ変更。
・[Create]>[Create Empty] 名前をAcademyとする。
[Inspectorビュー]>[Add Component]>[New Scripts] 名前をRoller Academyへ変更。
Sceneに生成すべきオブジェクトは以上4つです。
GameObjectを生成した後は、機械学習するためのスクリプトを書いていきます。
3.スクリプトを書いていく
機械学習するためのコードを書いていきます。
全部で約70行のコードなので全体の内容を理解しやすいかと思います。
・Roller Academy
using System.Collections;
using System.Collections.Generic;
using UnityEngine;
using MLAgents;

public class RollerAcademy : Academy
{
}
Roller Academyは以上になります。
using MLAgents;を忘れずに。
RollerAcademyのスーパークラスをMonoBehaviour からAcademyへ変更します。
・RollerAgent
using UnityEngine;
using MLAgents;

public class RollerAgent : Agent
{
    Rigidbody rBody;

    void Start()
    {
        rBody = GetComponent<Rigidbody>();
    }

    public Transform Target;
    public override void AgentReset()
    {
        if (this.transform.position.y < 0)
        {
            //ボールが落ちたときにボールをもとの位置に戻すIf the Agent fell, zero its momentum
            this.rBody.angularVelocity = Vector3.zero;
            this.rBody.velocity = Vector3.zero;
            this.transform.position = new Vector3(0, 0.5f, 0);
        }

        //ターゲットの位置をランダムに決めるMove the target to a new spot
        Target.position = new Vector3(Random.value * 8 - 4,
                                      0.5f,
                                      Random.value * 8 - 4);
    }

    public override void CollectObservations()
    {
        //ターゲットとボールの座標情報を取得Target and Agent positions
        AddVectorObs(Target.position);
        AddVectorObs(this.transform.position);

        //ボールの向きを取得Agent velocity
        AddVectorObs(rBody.velocity.x);
        AddVectorObs(rBody.velocity.z);
    }

    public float speed = 10;
    public override void AgentAction(float[] vectorAction, string textAction)
    {
        //移動Actions,size=2
        Vector3 controlSignal = Vector3.zero;
        controlSignal.x = vectorAction[0];
        controlSignal.z = vectorAction[1];
        rBody.AddForce(controlSignal * speed);

        //Rewards
        float distanceToTarget = Vector3.Distance(this.transform.position, Target.position);

        //Reached target
        if (distanceToTarget < 1.42f)
        {
            SetReward(1.0f);
            Done();
        }

        //Fell off platform
        if (this.transform.position.y < 0)
        {
            Done();
        }
    }
}
RollerAgentの中身は、以下3つのメソッドからなります。
AgentReset・・・ゲームをリセットする
CollectObservations・・・機械学習するための情報を取得する
AgentAction・・・Agentの行動を定義、報酬の設定をする
今回は、AgentのボールとTargetとの距離が一定距離以下になったときに、報酬を与えています。
以上でスクリプトは完成です。次に機械学習をしていきます。
4.機械学習する
Unity上で操作します。
機械学習をするためのBrainをつくります。
[Assets]>[Create]>[ML-Agents]>[Player Brain] 名前をRollerBollPlayerとする。
[Assets]>[Create]>[ML-Agents]>[Learning Brain] 名前をRollerBollBrainとする。
先ほど作成したスクリプトへBrainを割り当てます。
・RollerAgent(GameObject)の[Inspectorビュー]>[Roller Agent]
[Brain]へRollerBollBrainを割り当てる。
ついでに[Target]へTarget(GameObject)を割り当てる。
・Academy(GameObject)の[Inspectorビュー]>[Roller Academy]
[Broadcast Hub]>[Brains]へRollerBollBrainを割り当てる。
ここまでで、機械学習の準備は完了です。
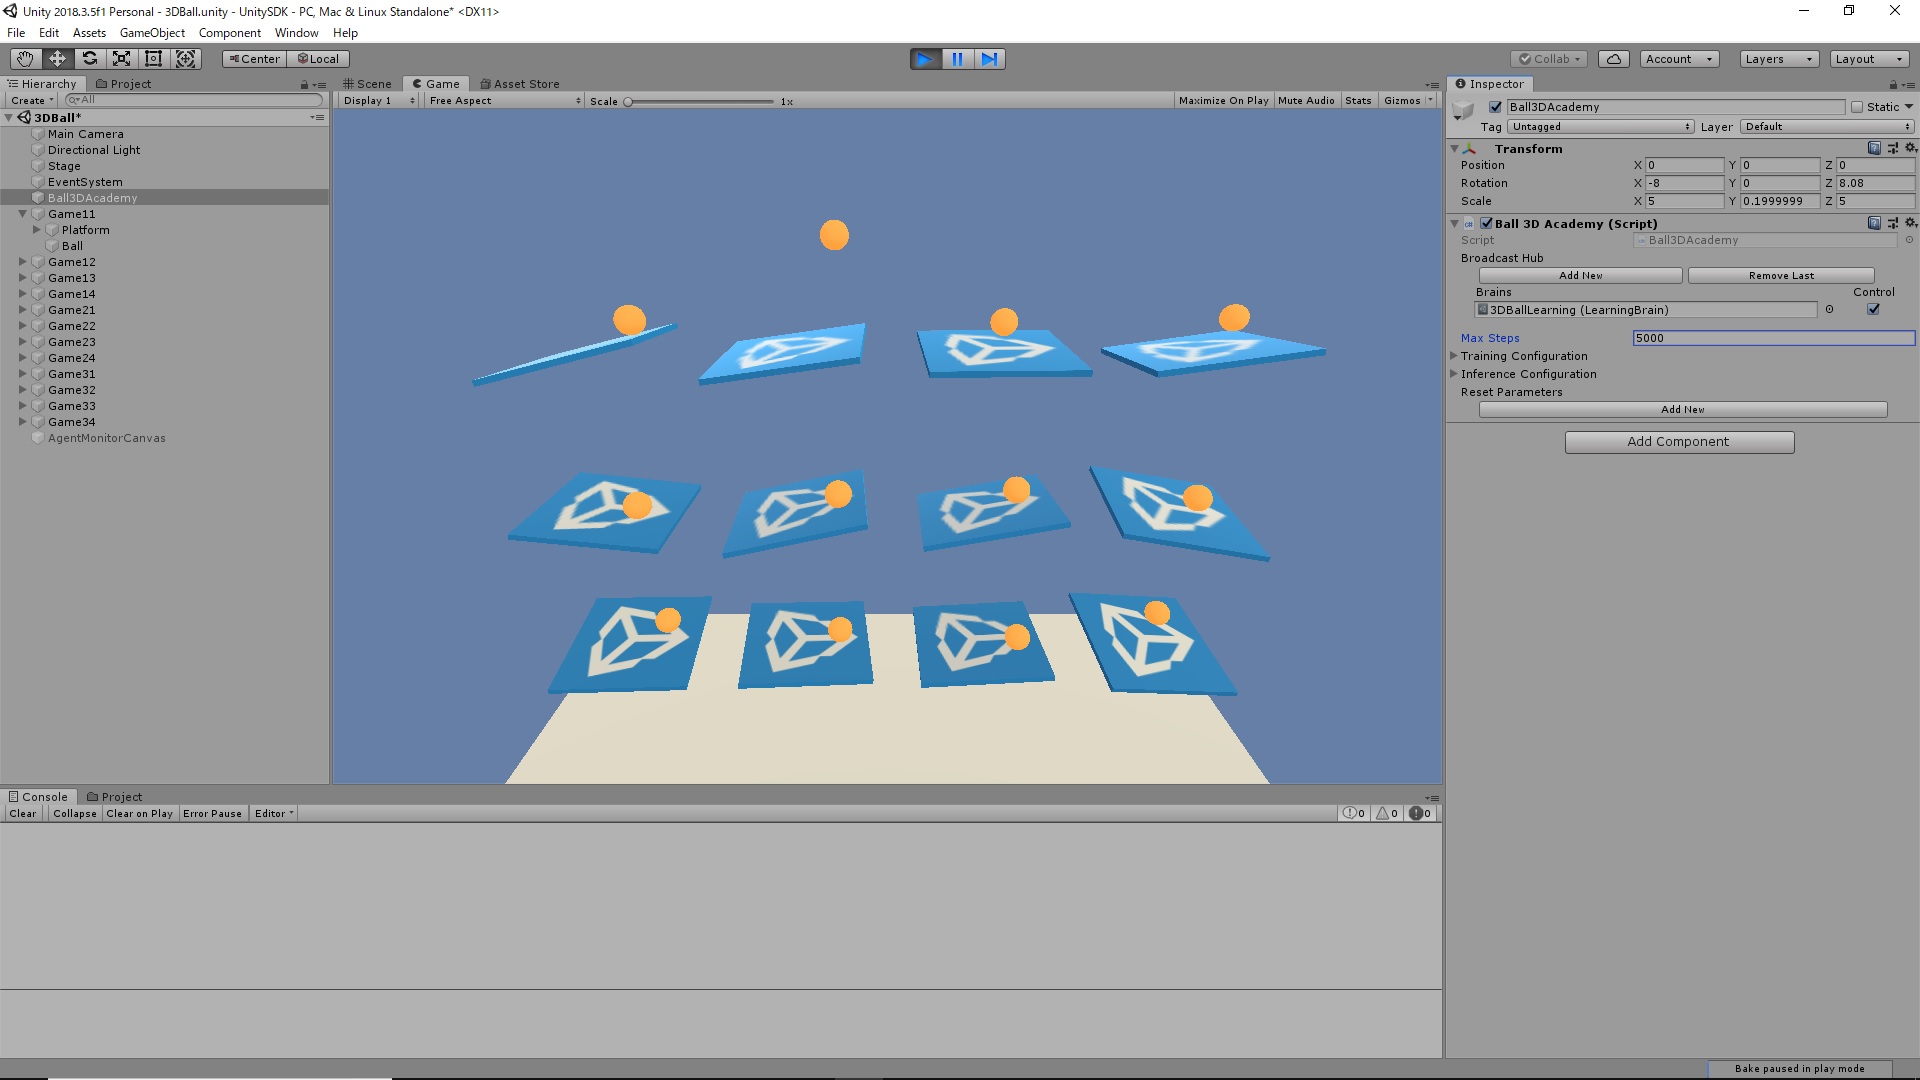
以下の手順はサンプルシーンを動かすのとほぼ同じです。
以下の記事を参考に機械学習をしてみました。


5.実際に動かしてみた
実際に動かしてみた結果が以下のようになります。
設定をいじらなかったので、50000回分学習しました。
しっかりターゲットを追従できていますね。うまくできてよかったです。
今回のサンプルを実装することで、機械学習がunity上でどのように実装されているのかが理解できました。
より深く学びたい方は、unity公式ガイドを参考にしてみてください。(英語ですが、手順が細かく書いてあるのでわかりやすい。)
https://github.com/Unity-Technologies/ml-agents/blob/master/docs/Learning-Environment-Create-New.md
最後まで読んでいただきありがとうございました。